Adobe Lightroom is a boon to the photographer. With the introduction of intelligent repair tools, it has now entirely replaced Photoshop for me, and I can not only tweak photos but also re-edit them to quite a level of detail.
One of the great features of Lightroom is the ability to save a group of settings as a “preset” and apply it with one click to a single image or a number of images. I have spent a little time making individual adjustments and have found my preferred settings, from which I start editing a photo. These settings are applied to every new RAW image I add to Lightroom during the import process, which saves me no end of time.
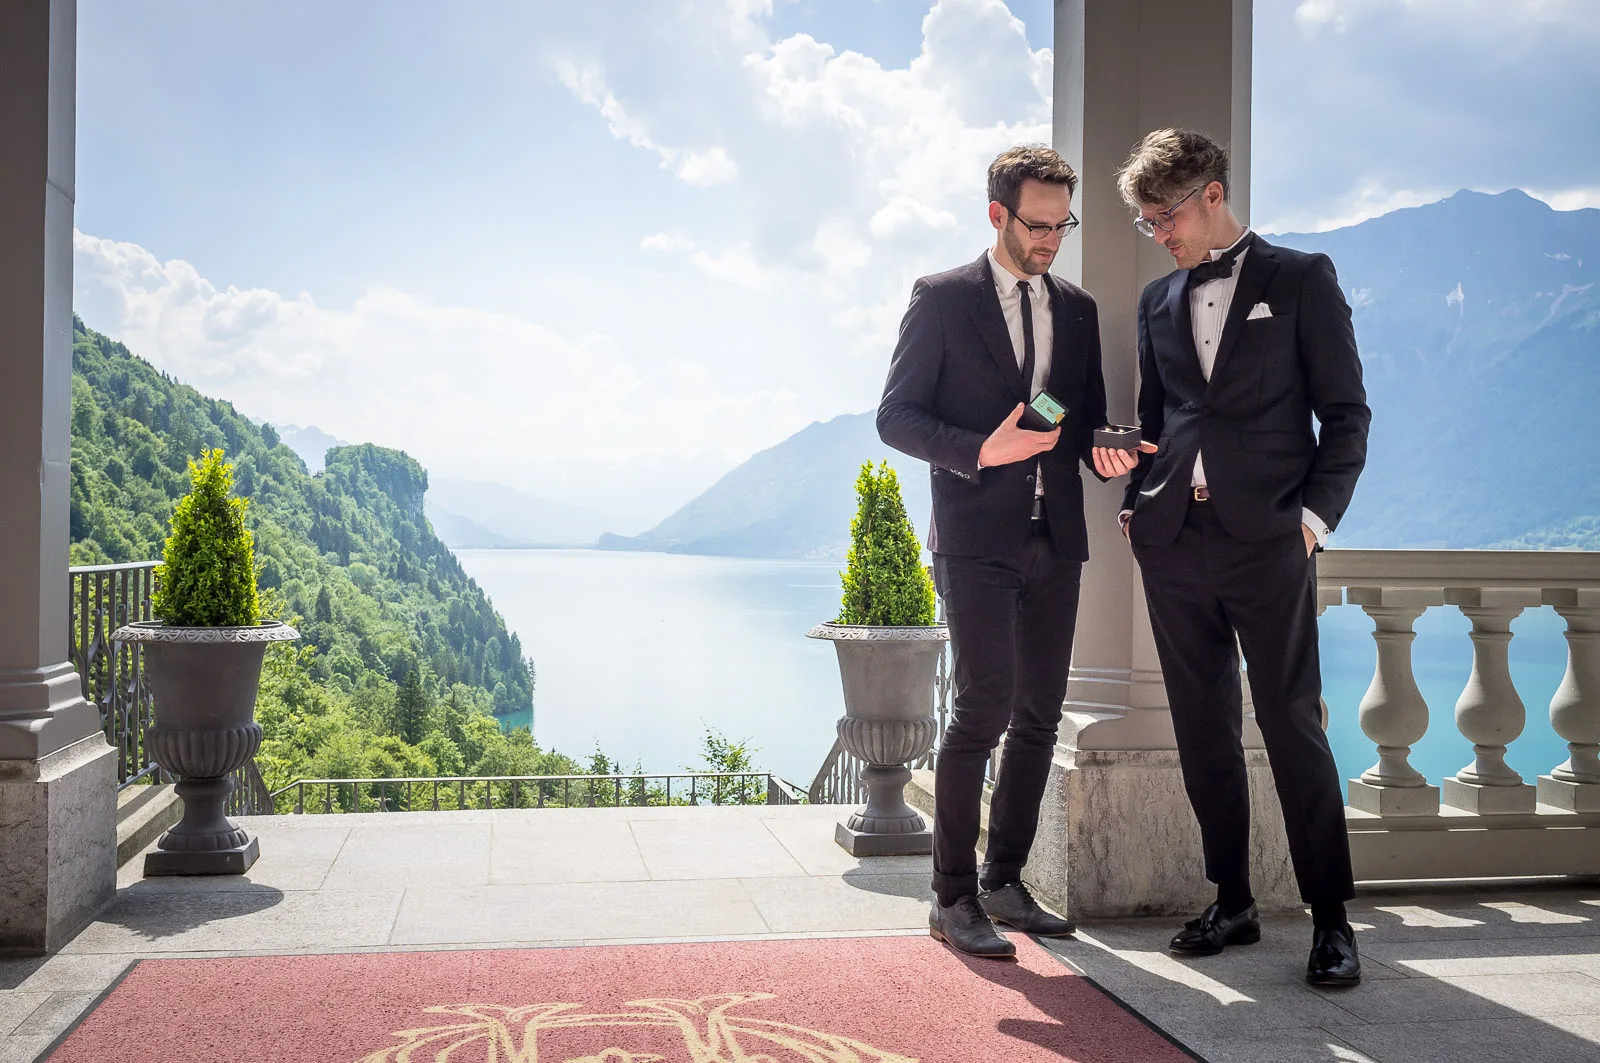
The default settings which Lightroom provides make the RAW images you import and automatically convert to DNG format very dull indeed. This is an example of the main image in this blog post, as it would appear with no special settings applied. As you can see, it’s not really helpful for much more than just seeing vaguely what’s in the photo.

As a first step, the default settings I apply tweak the highlights, brighten the image a little, lighten the shadow tones by 50%, apply a subtle sharpening effect and – because of a personal preference – apply a slight vignette. The Lightroom setting for automatic “lens correction” is always switched on and as I shoot over 90% of my images in daylight, the white balance is preset to Daylight too. This produces the result below.

This is the starting point for all of my photos. From here, I generally adjust the clarity and vibrance settings according to taste – in this example, 20% clarity and 25% vibrance – and use the sliders to balance the shadow tones and highlight tones to make the photo look as I want it to. I very rarely adjust the contrast these days, but if I want to make the image a little more “punchy”, I brighten the highlights and adjust the black tones to be subtly darker. If the shadow tones need to be lifted a lot, as they were here, I often add just a little noise reduction: 15% luminance, 25% detail and 25% contrast for general noise, and 15% with 25% detail correction on the colour noise. (These values also vary according to ISO and camera type.)
The process I’ve described here is based on a shooting technique which means that images are exposed to ensure that the highlights aren’t overexposed: the first, unedited image in this post shows that there is plenty of detail in the sky, whilst the foreground is underexposed. The adjustments I’ve described allow me to increase the exposure and shadow tones in Lightroom, whilst retaining details in the highlights and whites.
You can download my “Gentle (colour)” preset for Lightroom 5 here as a starting point for your own image editing. The Lightroom channel on YouTube is also great for learning how to use specific aspects of the programme.
