You may recall that I wrote about HDR technique some time ago, and a technique I employed at a wedding last weekend reminded me to write about the alternative: Tone Mapping and Zone System exposure.
My ethos for wedding and event photography is that the photographer should stay out of the way, wherever possible, and I do my utmost to avoid disturbing the proceedings by using a flash gun to bring additional illumination to a scene. This particularly applies to a wedding ceremony, when all of the attention should be on the service and the bridal couple, not the dork taking the photos.
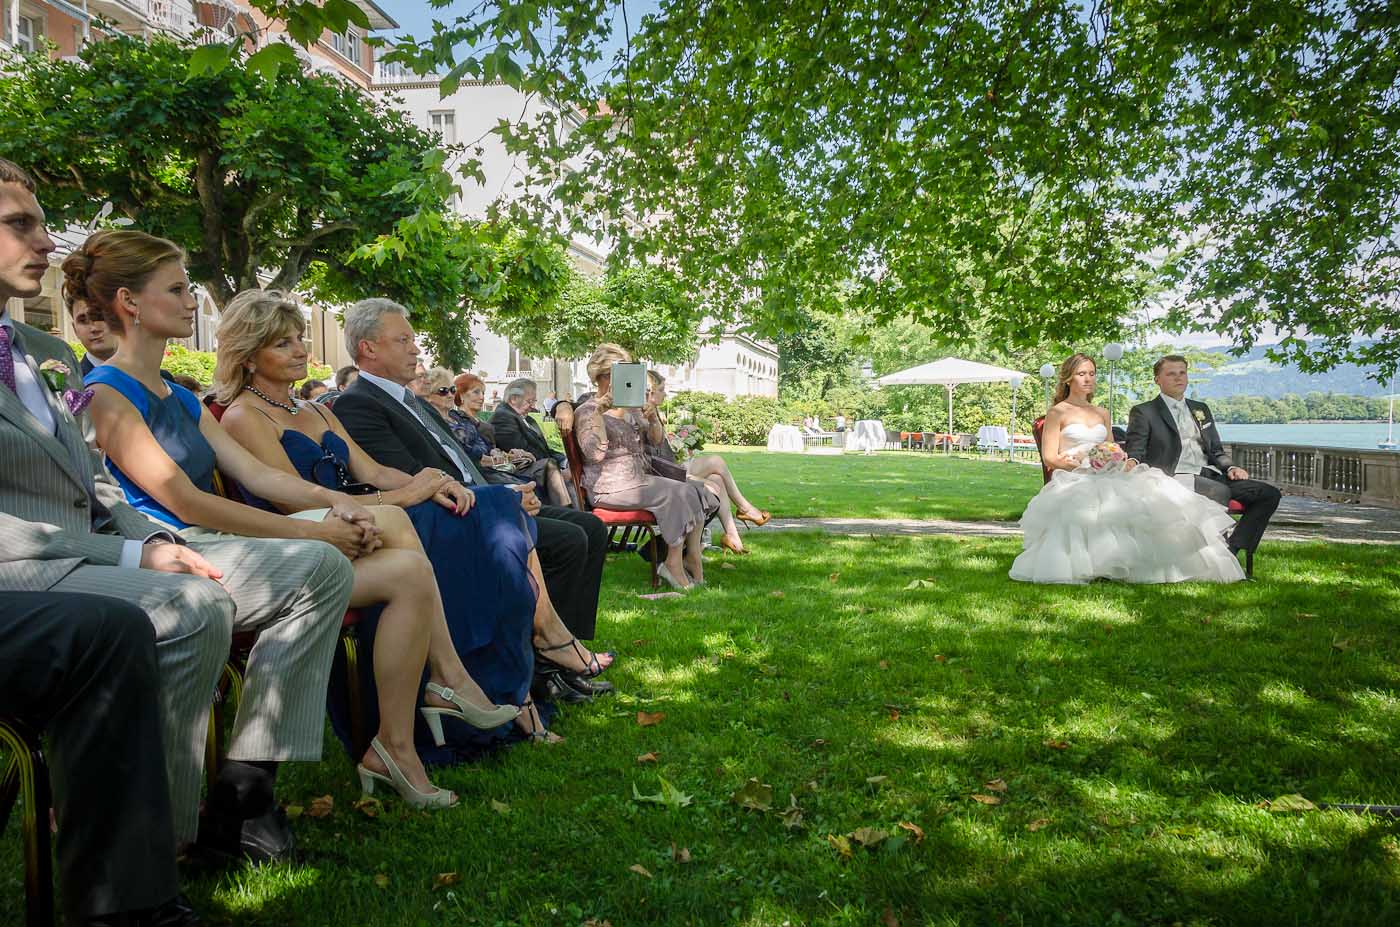
The lighting at the ceremony, which took place in the shade of a big tree on a bright day by the side of a lake, presented me with a huge challenge. Even if the day had been grey and dull as forecast, the range of lighting tones from charcoal suits in the shade of the big tree to the brightness of the big expanse of sky was huge. In technical terms, the nine stop range was only ever going to be covered by a little technical know-how and a lot of reliance on post-processing work.
The Zone System
Thanks to the wide range of tones which a modern digital camera sensor can recognize – akin to Ansel Adams’ Zone System – I could make sure that by carefully exposing my shots, I could ensure good results. A negative – or in terms of digital photography, the RAW file – must cover the range from absolute black to absolute white. If the picture is over-exposed, the detail in the brightest part of the picture will be “burned out”. By under-exposing, the detail in the darkest part of the picture will be “blocked up” (to pure black).
By exposing for the middle tone, the tonal capability of the camera sensor will retain detail in the lightest and darkest parts of the scene. Check out the table on Normal Koren’s website to see an example of the tonal range of a modern digital camera, which covers 10-11 stops of exposure.
Simple mathematics
If the darkest point of a scene requires an exposure of 1/4s at f8 and the brightest part of the scene requires an exposure of 1/1000s at f8, the middle point is 1/60s at f8. (The full stops in this range can be expressed as follows, which makes it easier to see where the “middle” exposure point lies.)
4 | 8 | 15 | 30 | 60 | 125 | 250 | 500 | 1000
By exposing your photo at 1/60s at f8, your RAW file will now contain detail in all of the tonal bands. When you look at the picture on your camera’s screen, it will look to be incorrectly exposed, but don’t worry: the work you’ll do in post-processing will correct it.
Automatic metering
This technique does essentially the same thing as the automatic exposure function in your camera. However, the automatic function compensates; deciding how important the extreme highlights and extreme shadow tones are. If only a tiny part of your photo is an extreme, a matrix-based meter reading will pay less attention to this, and average out the remainder of the shot. This can quickly lead to a highlight area “blowing out”, resulting in a irrecovable loss of detail. Where a section of bright sky is in the shot, this can mean that not just detail is lost, but also the blue colour.
Tone Mapping…
The term tone mapping refers to a post-processing technique, which was introduced in earlier versions of Photoshop as “Shadows/Highlights“. (Before that, one had to have a good understanding of how to use Curves.) The principle is easy to understand: using tools in your image editing programme, you can adjust the brightness of individual tonal bands in your photos. You can darken (or “recover”) the highlights, or brighten (“boost”) the shadow areas.
If you’ve used the exposure technique mentioned above, your RAW file will have retained sufficient detail in the two extreme areas of the image and using the tone mapping technique will not just adjust the brightness of your image, but also recover detail which appeared lost on the camera preview screen.
…versus HDR
The great avantage to using this technique is that there’s no need to mess around shooting multiple exposures, or combining multiple images to make one shot. Tone mapping applies to just one source image, which will often contain all the tonal information needed to create a correctly edited image.
With programmes such as Adobe’s Lightroom, applying tone mapping techniques to an image is easy: the sliders Highlights, Shadows, Whites and Blacks in the “Basic” subpanel will allow you to make the required adjustments. To create an accurate effect, you may also need to adjust the Clarity, Vibrance and/or Contrast settings after finalizing the tonal ranges, as tone mapping often makes a picture look slightly washed-out.
A final note, before showing you some edited images to demonstrate the technique: if you like the exaggerated look of HDR images which is so prevalent, then you probably won’t be able to achieve the effect you’re after with tone mapping.

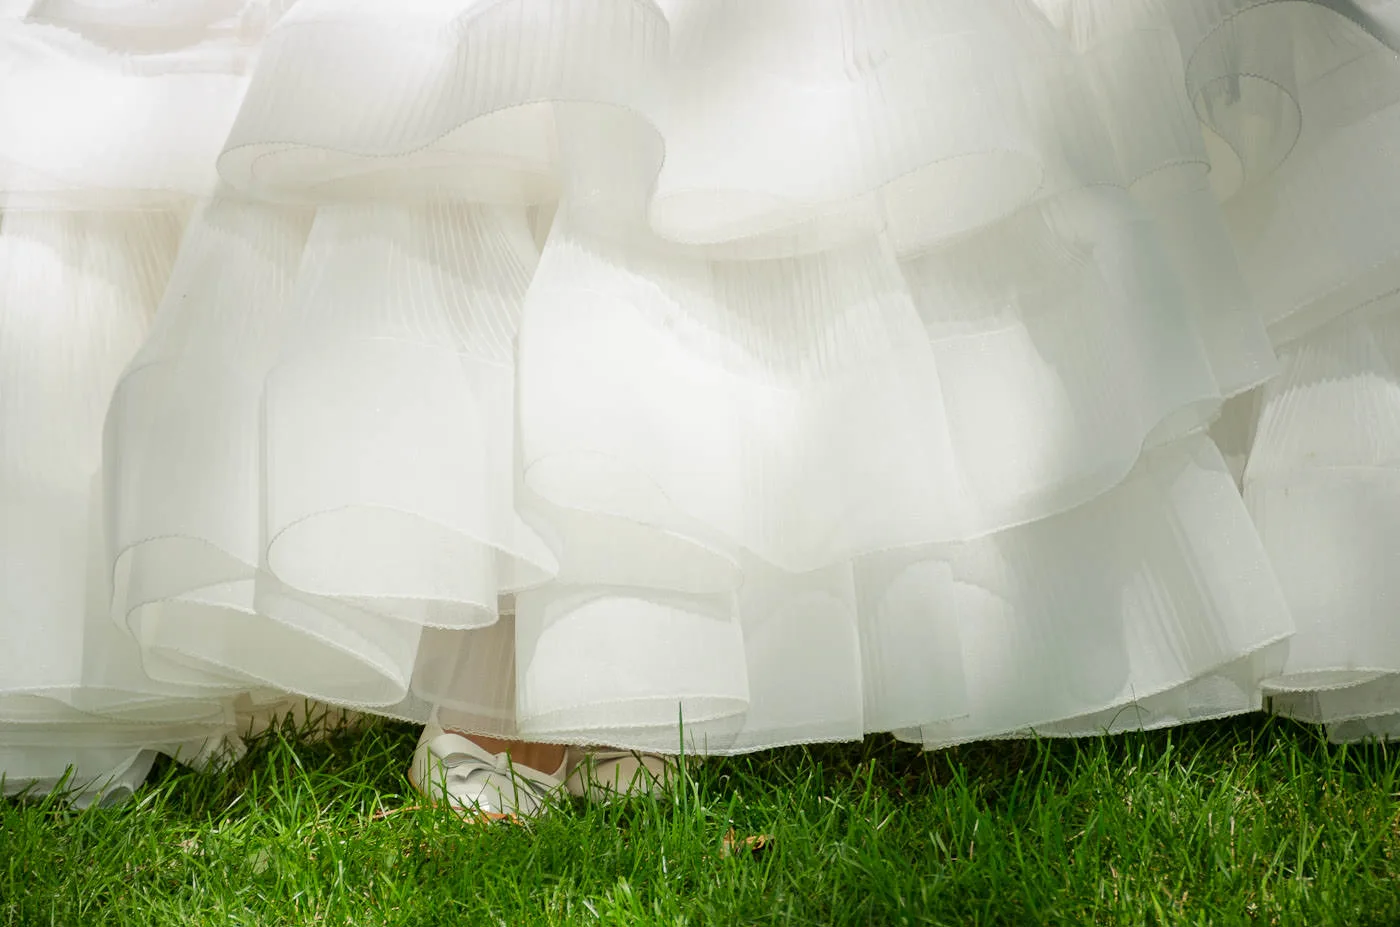
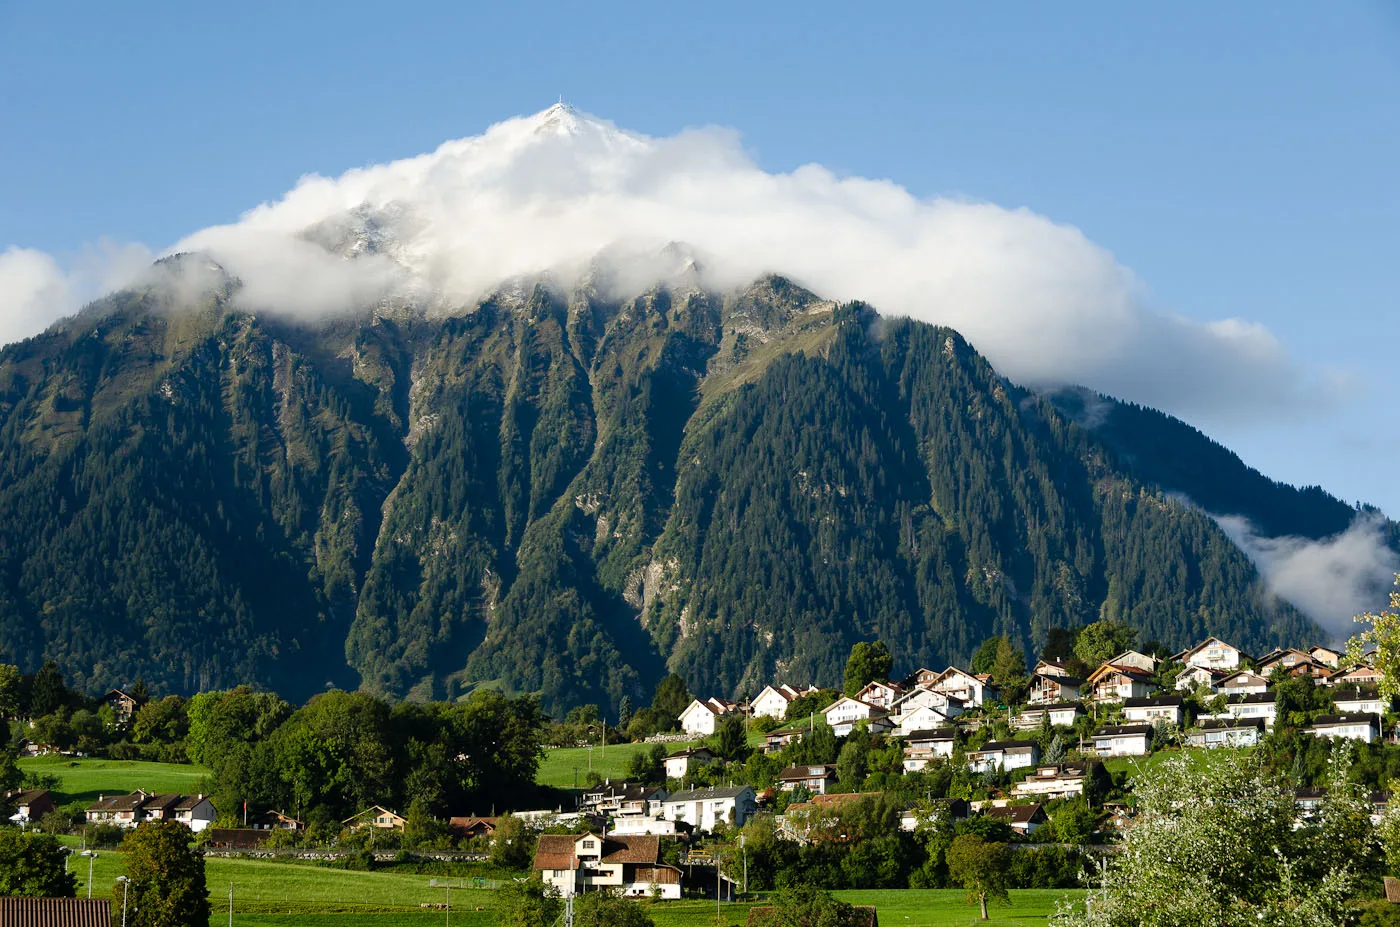
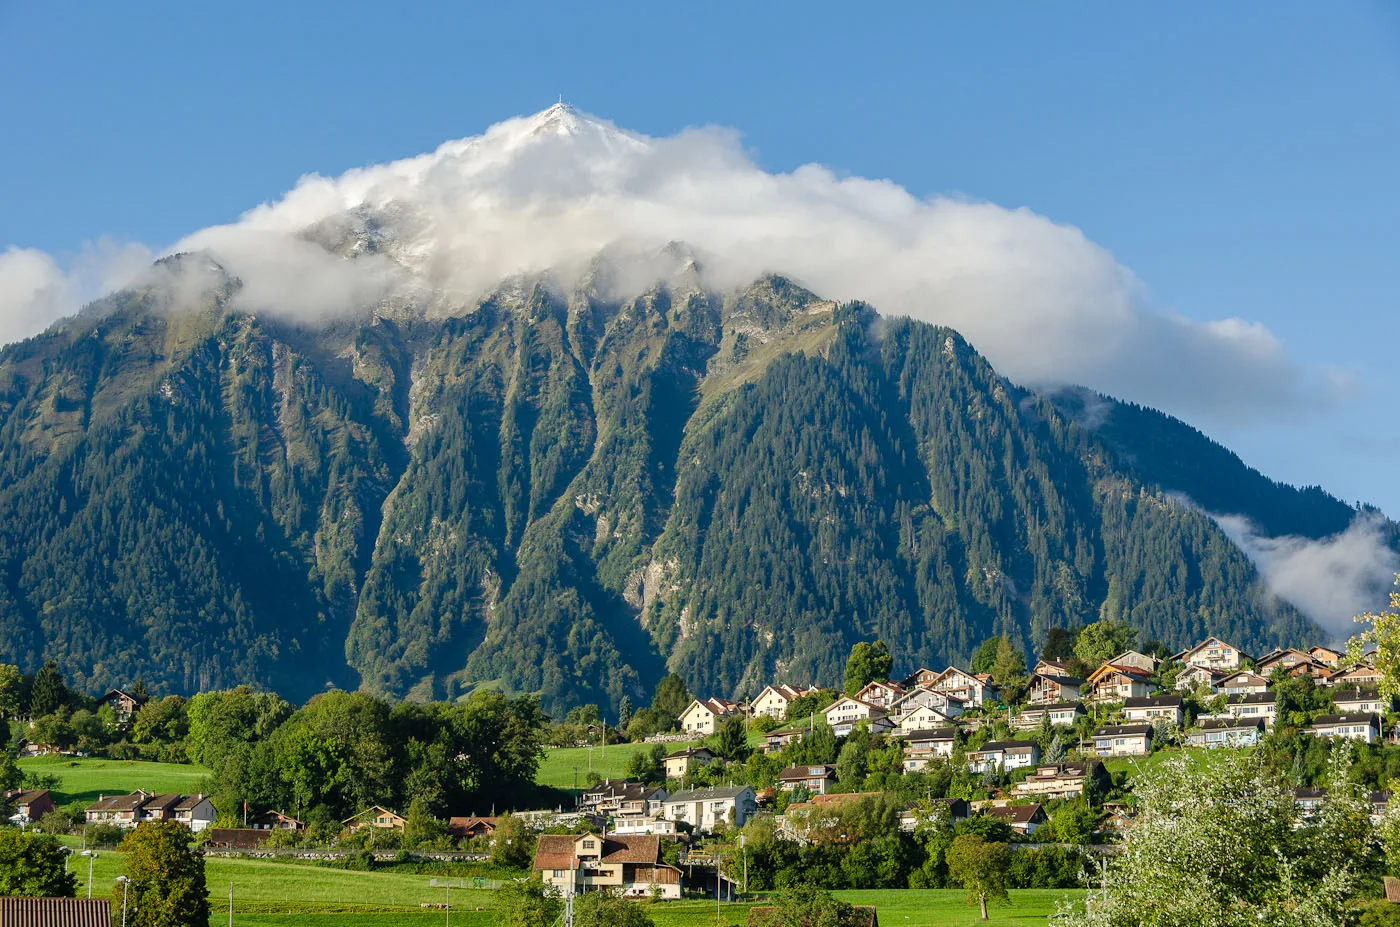




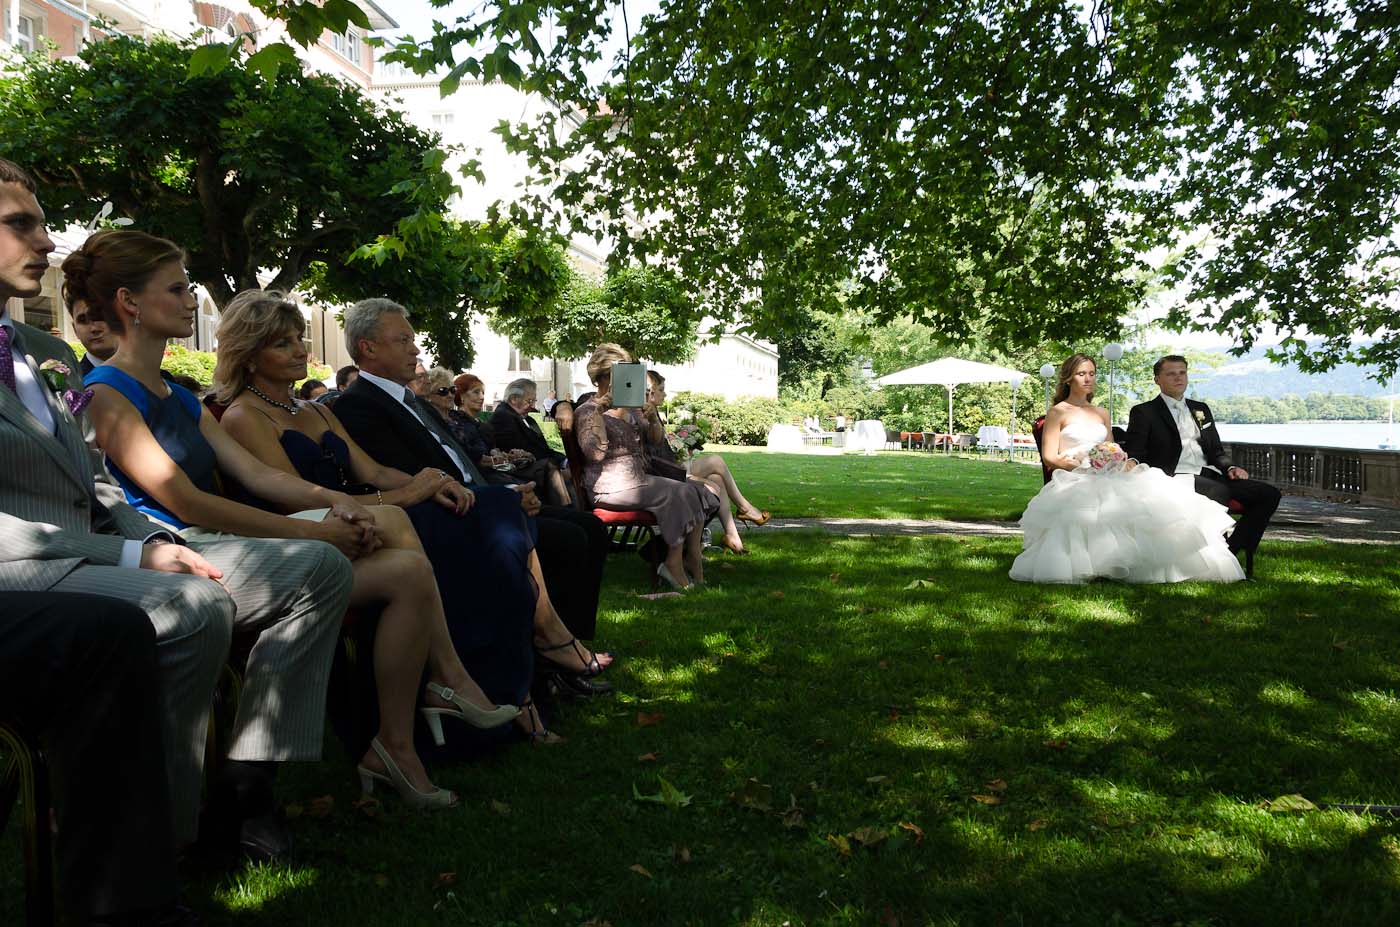
4 responses to “Thank heavens for digital tone mapping”
From the “comments you didn’t expect”-section: Is she *really* taking a photo with her iPad?
You obviously haven’t been anywhere where there are lots of tourists recently; iPad photography is the new Instagram for the non-tech-savvy classes :)
Mark,.. As usual, your posts are wonderful and generous. Thanks for this one (and bravisimo on the header image.. it’s gorgeous).
A pleasure, when it invokes such positive response!